I'll be posting some of my "adapted" lesson plans I've made for my blind daughter in the upcoming months. She is in Kindergarten, so the plans will focus mainly on fundamentals including the core curriculum for language and math, as well as expanded core curriculum ideas such as self-help and independence skills, orientation and mobility, and of course everything will include braille, textured graphics, hands-on activities, and more!
Please feel free to send us an email or post a comment for an objective you'd like to see an adapted lesson plan for your child! We'd be more than happy to help come up with some ideas for your next theme!
Tuesday, August 30, 2011
Products to encourage sitting, crawling, standing, and walking!
Below is a list of toys we recommend to help in encouraging your child to make progress towards the next developmental stage, whether it be sitting, crawling, standing or walking! Click the picture to link to the outside resource where we found the best prices. These also make great gifts that any child, blind or sighted will enjoy!
Many toys, such as the sit to stand activity centers, grow with the child making them well worth the money. All the toys below have sound. Until about a year ago, my daughter (now 6) wouldn't even consider playing with a toy unless it made lots of great sounds!
Recommended Products:


***always consult your doctor or therapist before starting a new exercise program for you or your children.
Additional Resources:
USA Gymnanstics - http://www.usa-gymnastics.org/pages/home/publications/technique/2010/05/06_core.pdf
Yoga for Kids - http://yogakids.com/
They also have a great app for download on iTunes!
Many toys, such as the sit to stand activity centers, grow with the child making them well worth the money. All the toys below have sound. Until about a year ago, my daughter (now 6) wouldn't even consider playing with a toy unless it made lots of great sounds!
Recommended Products:
toys for helping learn to walk
Shoes squeak when you walk!
Wee Squeak Shoes - http://wesqueak.net/
Fisher-Price Cruise Around Activity Lion
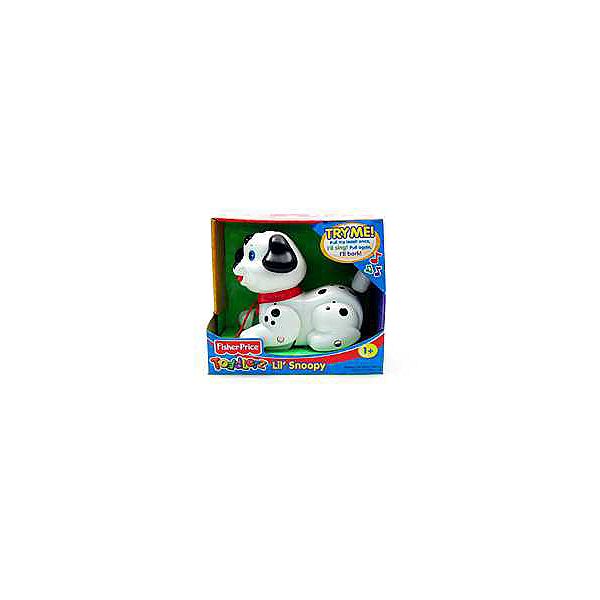
Fisher-Price Lil Snoopy Pull Toy
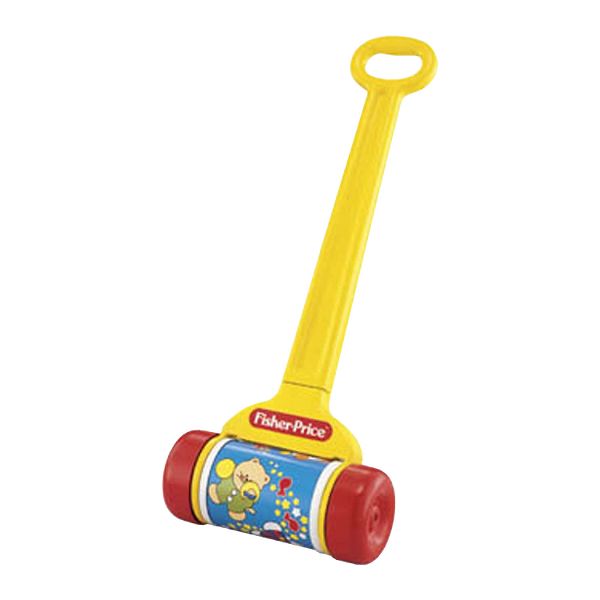
Fisher-Price Melody Push Chime
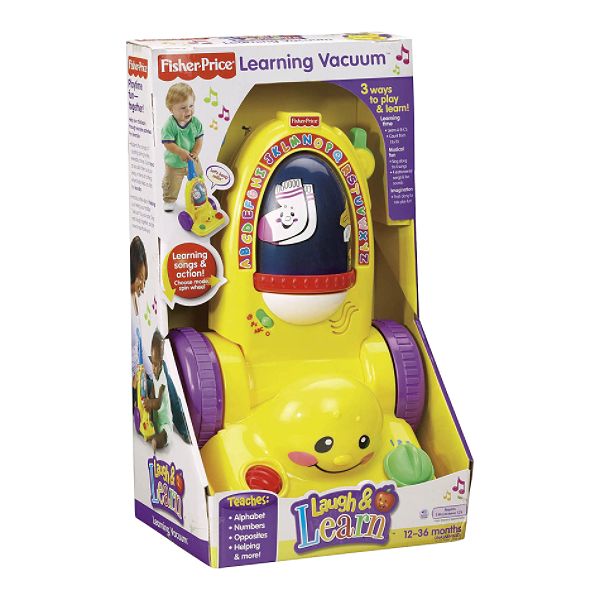
Fisher-Price Learning Vacuum
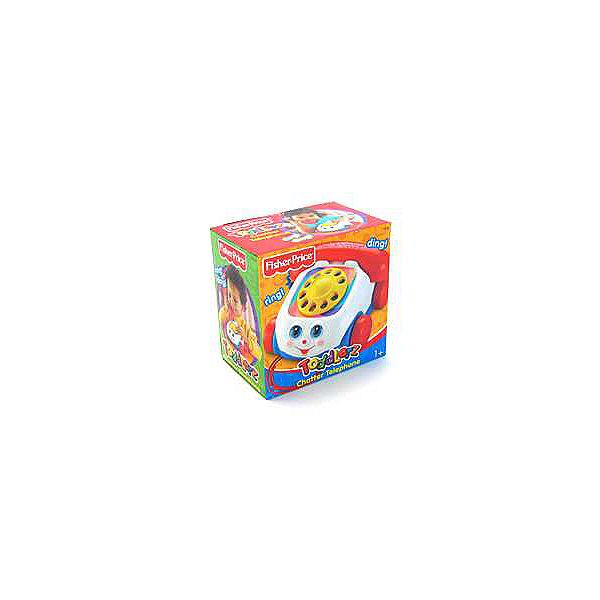
Fisher-Price Chatter Telephone
toys to encourage standing
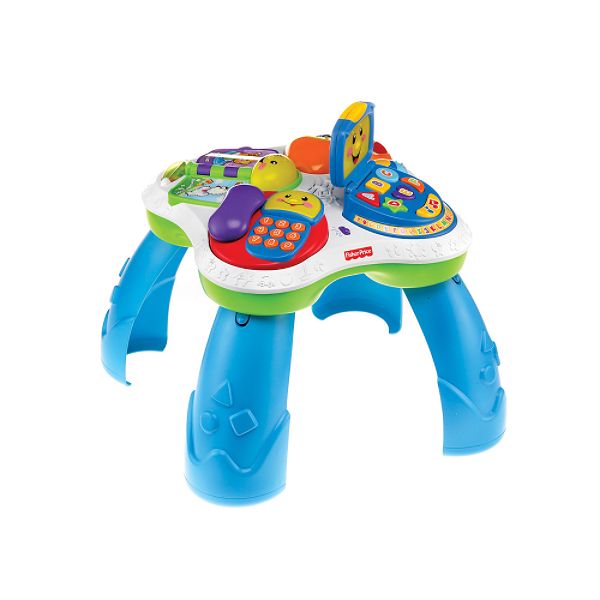
Fisher-Price Musical Table
Rainforest Jumperoo
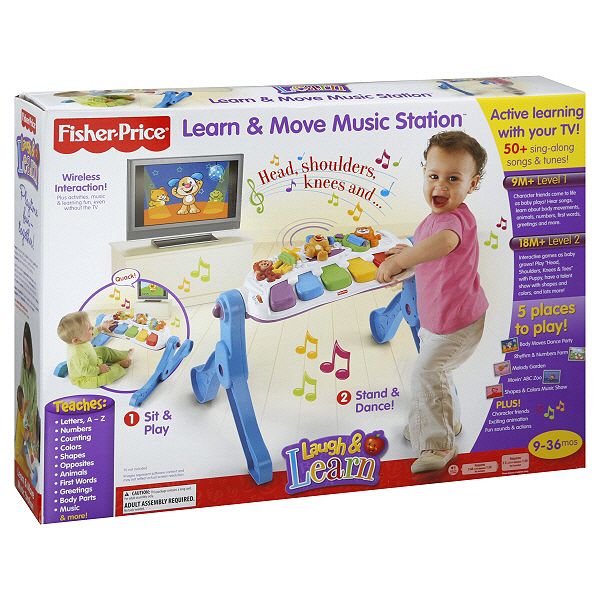
Fisher-Price Learn and Move Music Station
toys to encourage sitting
Bumbo Seat
Also, check out the attachable tray so baby can play with her favorite music toy while sitting!
Also, check out the attachable tray so baby can play with her favorite music toy while sitting!
Vtech Sit to Stand Learning Walker
Bright Starts Around We Go Activity Station - Doodle Bugs
toys to encourage crawling and tummy time
Fisher-Price Singin' Soccer Ball
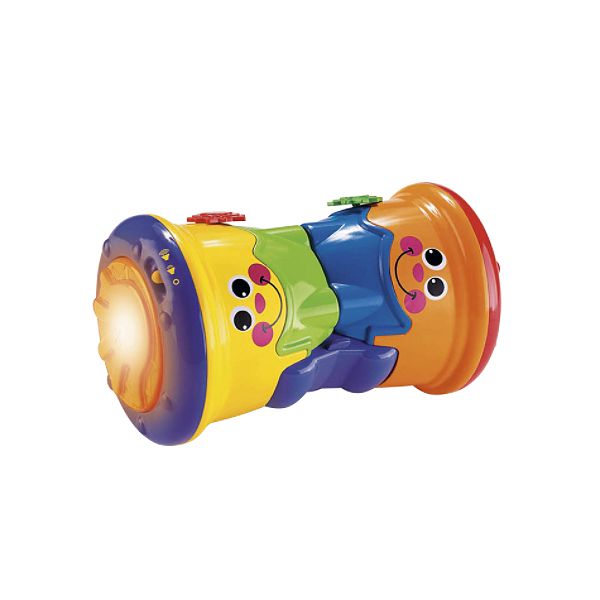
Fisher-Price Crawl Along Drum Roll
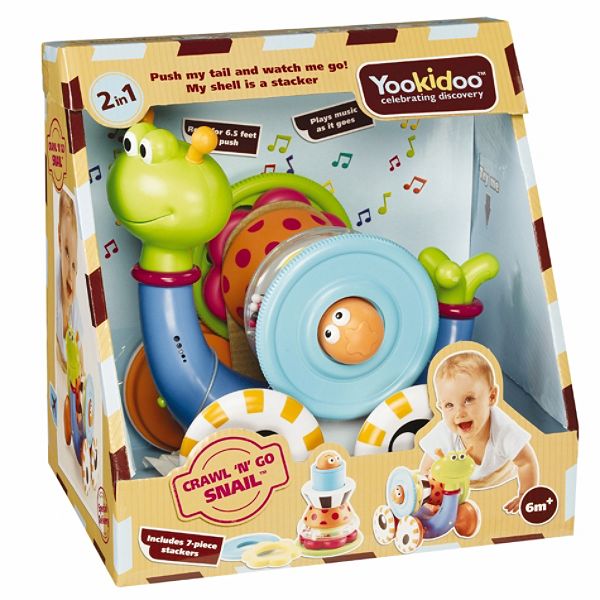
Crawl Along Snail
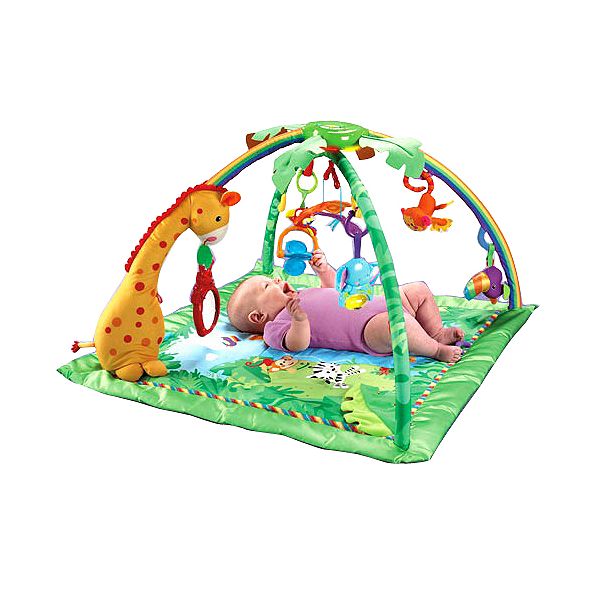
1-2-3 Rainforest Musical Gym
***always consult your doctor or therapist before starting a new exercise program for you or your children.
Additional Resources:
USA Gymnanstics - http://www.usa-gymnastics.org/pages/home/publications/technique/2010/05/06_core.pdf
Yoga for Kids - http://yogakids.com/
They also have a great app for download on iTunes!
Tuesday, August 23, 2011
DIY Texture Board
UPDATE: Have you created your own TEXTURE BOARD? Share it with us for a chance to win a basket of sensory products including SMENS, stickers, textured paper and more! Just LIKE US on Facebook and share your pictures on our page. We'll pick one winner on December 31, 2011. The more creative, the better! Now go make a DIY texture board and share it on Sensory Sun's Facebook page!
It's never too early to introduce little fingers to an assortment of textures- fun and interesting textures at that! You can easily make this board using our Textured Paper Assortment package and a piece of 1/4 inch foam board from your local hobby store. Children will enjoy just feeling the different squares, or playing matching games. Encourage children to describe the textures and notice the differences between each of them, as well. Ask them to describe real life objects that feel the same. Present 3D objects that feel similar as well. It is best to use objects that the child has had a previous experience with, then show that other things may feel the same way, but are different in ways like how they work and what the are used for in the world. Some examples are given below. Enjoy!
For this example, we used 1/4 inch foam board and 6 different textured paper pieces- but feel free to experiment!
Materials:
2 pieces 1/4 inch foam board, with 1 piece cut into 6x6" squares (6)
1 package of Textured Paper, cut into 6x6" squares
24 sets of adhesive backed Velcro circles
Glue stick
Scissors
Box knife, or similar craft knife blade
Cut Textured paper into 6x6" pieces, having 2 squares of each texture. Cut one piece of foam board into 6x6" squares. Glue 1 square of each texture to one square foam board square piece, ending with a total of 6 square textured pieces.
Next, glue the remaining textured paper squares to the large piece of foam board in a 2x3 column/row arrangement (see image below). Adhere the one side of the corresponding sets of Velcro to the four corners of each textured piece on the board. Then adhere the matching Velcro pieces to the individual textured square pieces. The Velcro helps the squares stay in place for the matching game, but could be skipped if you feel it may interfere with the child learning the major textures.
To use on the wall, you can also place Velcro pieces on the blank side of the board for storing the loose squares, or simply keep them in an envelope or box with the board.
Zebra- notice the raised stripes and show they are different from the fuzzy polka dots on another square. Read a book about zebras and other African animals. Zoobooks offers their magazines in braille by contacting their office.
Honeycomb- feel a real honeycomb (it is often easy to find these from local farms) The added sensory exploration of a sticky honey mess will be great, too! Winnie the Pooh books go great with this activity, as well tasting it too! (Children under 1 year should not eat honey.)
Lizard or snake or alligator (or some reptile!)- many hand size replicas (like from Safari, Ltd.) are detailed enough to feel the scales on the animals. You may even try visiting a pet store that is a temporary home of one of these slithery friends, and ask the store assistant if the child may feel them.
Bubble wrap- show how the bubbles form circles just like the polka dots on the paper. Explain how the bubble wrap pops making lots of noise, unlike the smoother paper dots. Show what how we use bubble wrap for protecting fragile objects by wrapping a cookie with the wrap, place in a box, tape it up and toss around. Next, try the same without first wrapping it in bubble wrap. And you might want to save a few extra cookies to eat after this science experiment!
Sandpaper- the glitter paper feels much like sandpaper, but does not achieve the same results when used like sandpaper. Have the child try this and experience the results himself. Just be careful for wood with splinters!
Dried mud- the black raised mountains with glitter feel a lot like dried mud. Have some fun outside after the next rain dries up outside. Or recreate your own version inside in a plastic box. Clay type mud or dirt works the best! This is a great activity to perform when the child is learning about the desert, too!
Furry Polka Dots - Compare the fuzzy texture to that of a furry animal friend. Describe the arranged dots as a "pattern".
It's never too early to introduce little fingers to an assortment of textures- fun and interesting textures at that! You can easily make this board using our Textured Paper Assortment package and a piece of 1/4 inch foam board from your local hobby store. Children will enjoy just feeling the different squares, or playing matching games. Encourage children to describe the textures and notice the differences between each of them, as well. Ask them to describe real life objects that feel the same. Present 3D objects that feel similar as well. It is best to use objects that the child has had a previous experience with, then show that other things may feel the same way, but are different in ways like how they work and what the are used for in the world. Some examples are given below. Enjoy!
For this example, we used 1/4 inch foam board and 6 different textured paper pieces- but feel free to experiment!
Materials:
2 pieces 1/4 inch foam board, with 1 piece cut into 6x6" squares (6)
1 package of Textured Paper, cut into 6x6" squares
24 sets of adhesive backed Velcro circles
Glue stick
Scissors
Box knife, or similar craft knife blade
Cut Textured paper into 6x6" pieces, having 2 squares of each texture. Cut one piece of foam board into 6x6" squares. Glue 1 square of each texture to one square foam board square piece, ending with a total of 6 square textured pieces.
Next, glue the remaining textured paper squares to the large piece of foam board in a 2x3 column/row arrangement (see image below). Adhere the one side of the corresponding sets of Velcro to the four corners of each textured piece on the board. Then adhere the matching Velcro pieces to the individual textured square pieces. The Velcro helps the squares stay in place for the matching game, but could be skipped if you feel it may interfere with the child learning the major textures.
To use on the wall, you can also place Velcro pieces on the blank side of the board for storing the loose squares, or simply keep them in an envelope or box with the board.
 |
| Tactile Texture board with matching tiles |
 |
| Madilyn matching the "honeycomb" textures |
Object and description ideas:
Honeycomb- feel a real honeycomb (it is often easy to find these from local farms) The added sensory exploration of a sticky honey mess will be great, too! Winnie the Pooh books go great with this activity, as well tasting it too! (Children under 1 year should not eat honey.)
Lizard or snake or alligator (or some reptile!)- many hand size replicas (like from Safari, Ltd.) are detailed enough to feel the scales on the animals. You may even try visiting a pet store that is a temporary home of one of these slithery friends, and ask the store assistant if the child may feel them.
Sandpaper- the glitter paper feels much like sandpaper, but does not achieve the same results when used like sandpaper. Have the child try this and experience the results himself. Just be careful for wood with splinters!
Dried mud- the black raised mountains with glitter feel a lot like dried mud. Have some fun outside after the next rain dries up outside. Or recreate your own version inside in a plastic box. Clay type mud or dirt works the best! This is a great activity to perform when the child is learning about the desert, too!
Furry Polka Dots - Compare the fuzzy texture to that of a furry animal friend. Describe the arranged dots as a "pattern".
Subscribe to:
Posts (Atom)